Hi Everyone!
So this week's Being Scrappy Kit had the yummy 'Time Spring' papers from Fancy Pants for me to play with. Along with lots of different little embellishments - ribbon, ric rac, brads and flowers!
I did a very simple layout this week so still have plenty of paper and embellishments left over to get another one done..
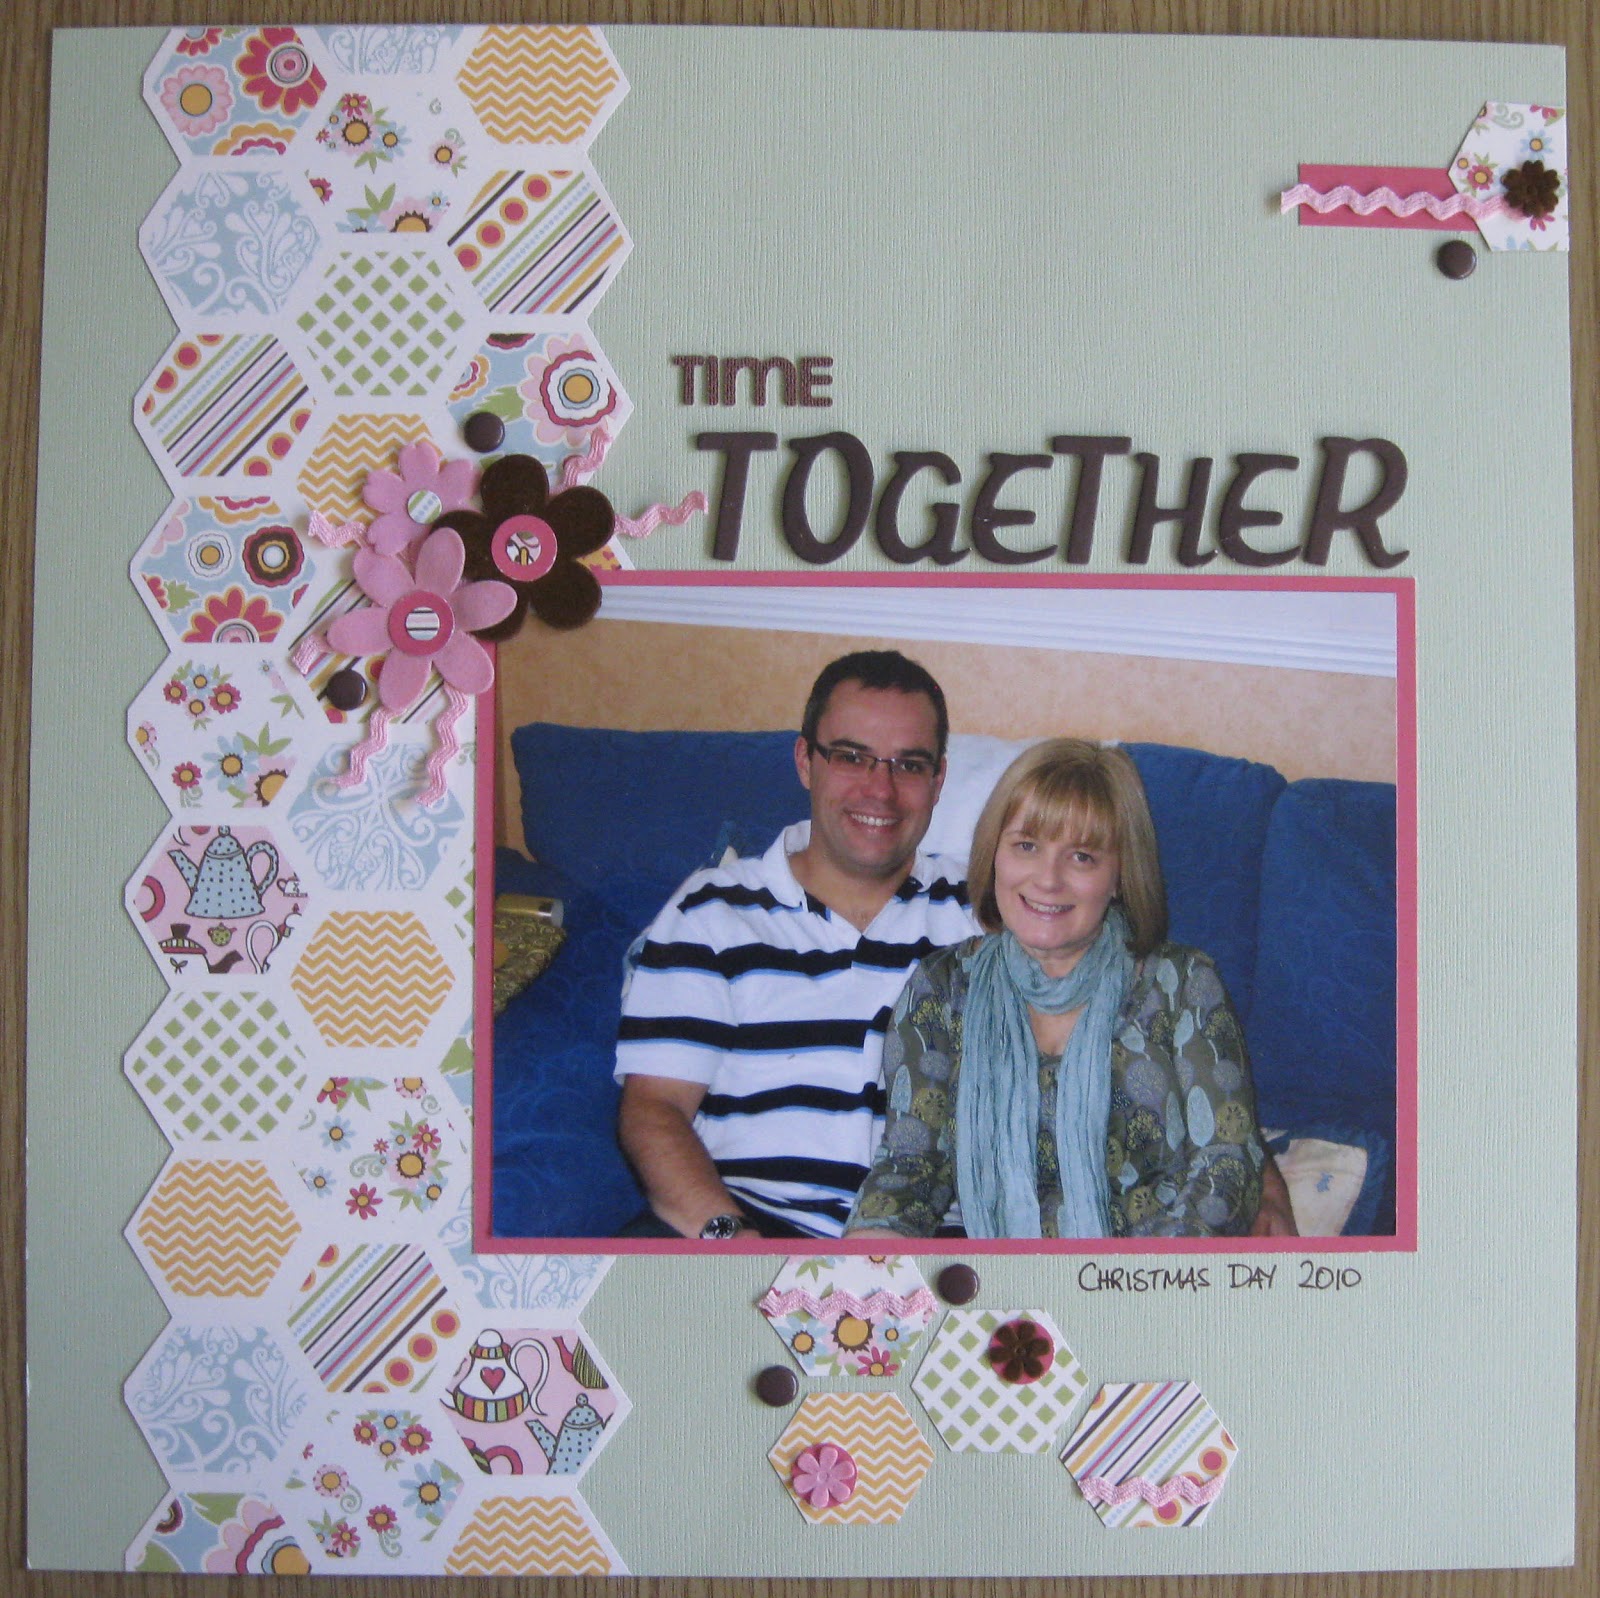
I used the green Bazzill for my base.
Then I cut three strips of the hexagons from the 'Honeycomb' paper and stuck these down the left side of the layout.
I then mounted a 7" x 5" photo onto the red side of the 'Honeycomb' paper and attached this to the layout.
I cut a few more hexagons out and stuck these below the photo.
Then I used a mixture of the ric rac, flowers and brads to embellish the layout.
Don't forget to add a little cluster to the top right of the layout.
Finish off with a title for your layout, mine was using alphas from my own stash...
This fab Kit is available for a limited time here, and to see what Niki made with the Kit pop on over to her blog!
Thanks for looking!
Kirei x
Showing posts with label Be Scrappy. Show all posts
Wednesday, 20 February 2013
Wednesday, 13 February 2013
Feb Week 2 layout for Being Scrappy...
Hi Everyone!
In this week's Being Scrappy Kit I had the lovely 'The Sweetest Thing' papers from My Mind's Eye to play with (along with a coordinating die cut and washi tape!). I decided to use some photos from my Hen weekend in 2010 for this layout...
I used the pink Bazzill as my base but did trim it to 10.5" x 12" and then punched along one of the 12" edges. Then cut a 2" x 12" strip of the script side of the 'About Me' paper (making sure that the script is running across as this is then attached to the border punched edge of the pink Bazzill. You will need to make sure that the entire layout measures 12" x 12" once the two pieces are stuck together.
Next cut a 2" x 12" strip of the 'The Best' paper and attach this down the left side so that the pink border is showing.
Cut a 9" x 10" piece of the beige Bazzill and stick this down to the layout.
I used the washi tape to make a frame round the edge of the beige Bazzill.
Stick down your photos (mine were both cropped to 5.5" x 4").
Attach the coordinating diecut and add your journalling.
Finish off with a title, mine was a mix of tiny alphas from my stash and a Thickers alpha from a previous Kit. I also used some of the little flowers pieces from the Thickers to embellish the layout.
This Kit is available for a limited time here... do pop on over to Niki's blog to see what she has done with the Kit this week!
Thanks for looking!
Kirei x
In this week's Being Scrappy Kit I had the lovely 'The Sweetest Thing' papers from My Mind's Eye to play with (along with a coordinating die cut and washi tape!). I decided to use some photos from my Hen weekend in 2010 for this layout...
I used the pink Bazzill as my base but did trim it to 10.5" x 12" and then punched along one of the 12" edges. Then cut a 2" x 12" strip of the script side of the 'About Me' paper (making sure that the script is running across as this is then attached to the border punched edge of the pink Bazzill. You will need to make sure that the entire layout measures 12" x 12" once the two pieces are stuck together.
Next cut a 2" x 12" strip of the 'The Best' paper and attach this down the left side so that the pink border is showing.
Cut a 9" x 10" piece of the beige Bazzill and stick this down to the layout.
I used the washi tape to make a frame round the edge of the beige Bazzill.
Stick down your photos (mine were both cropped to 5.5" x 4").
Attach the coordinating diecut and add your journalling.
Finish off with a title, mine was a mix of tiny alphas from my stash and a Thickers alpha from a previous Kit. I also used some of the little flowers pieces from the Thickers to embellish the layout.
This Kit is available for a limited time here... do pop on over to Niki's blog to see what she has done with the Kit this week!
Thanks for looking!
Kirei x
Labels:
Be Scrappy,
Clare,
Debs,
Hen Weekend,
Kirei,
Laura,
Scrapbooking,
Tina
Wednesday, 6 February 2013
Feb Week 1 Layout for Being Scrappy...
Hi Everyone!
Back with another layout from this week's Being Scrappy Kit. We had the yummy 'Dear Lizzy - 5th & Frolic' papers and a Thickers glittery Alpha by American Crafts to create with! I dug deep for my photos this week, they go back quite a few years to when my friend Kerrie's kids were still little (they turn 16 this year!).
I used the spotty 'Simplicity Circle' as the base for my layout, then cut a 6.5" x 9.25" piece of the raspberry Bazzill and tore the bottom off in a diagonal. Attach this to the left side of the layout and then stick down a 5.25" x 6" piece of the 'Memory Lane' paper just over the raspberry Bazzill. Cut an 11" x 1,25" strip of the triangle 'Cartwheel Court' paper and stick down towards the bottom of the 'Memory Lane' paper. Add one of the manufacturer's strips cut to 10.25" just under the larger strip. Punch a border in a 11" strip of the green Bazzill and stick this down over the top edge of the large strip.
Cut a 4.75" circle from the pink 'Memory Lane' paper, distress the edges and attach. Mount three photos onto the green Bazzill leaving just a thin border. My photo sizes are: 3.5" x 2.5" and 4" x 3.5". Sticl down onto the layout.
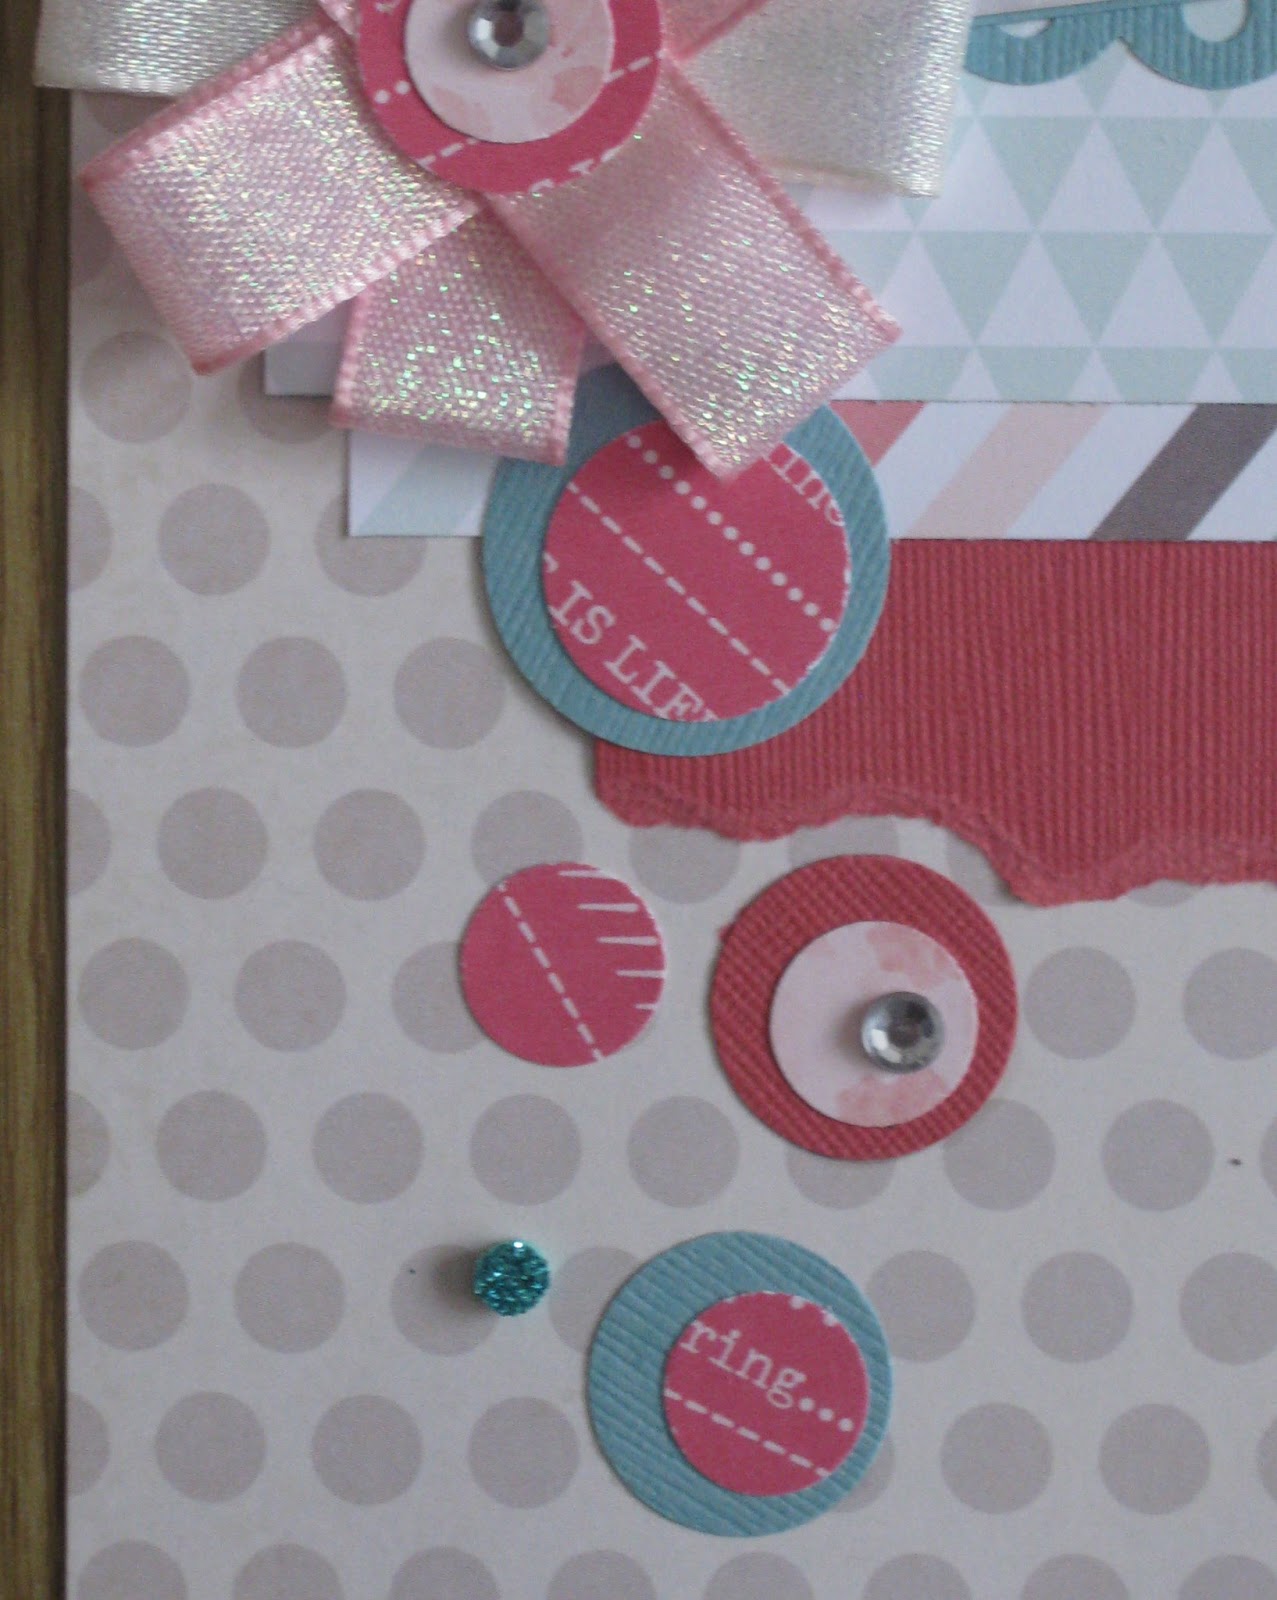
Add your embellishments... I punched different size circles from the patterned papers and Bazzill and layered these up above and below the photos, so they look like bubbles! Add some large gems and dots from the glittery Thickers Alpha.
Make a flower from layered strips of the pretty ribbon that comes with the Kit. Attach to the layout and add a layered paper centre and large gem.
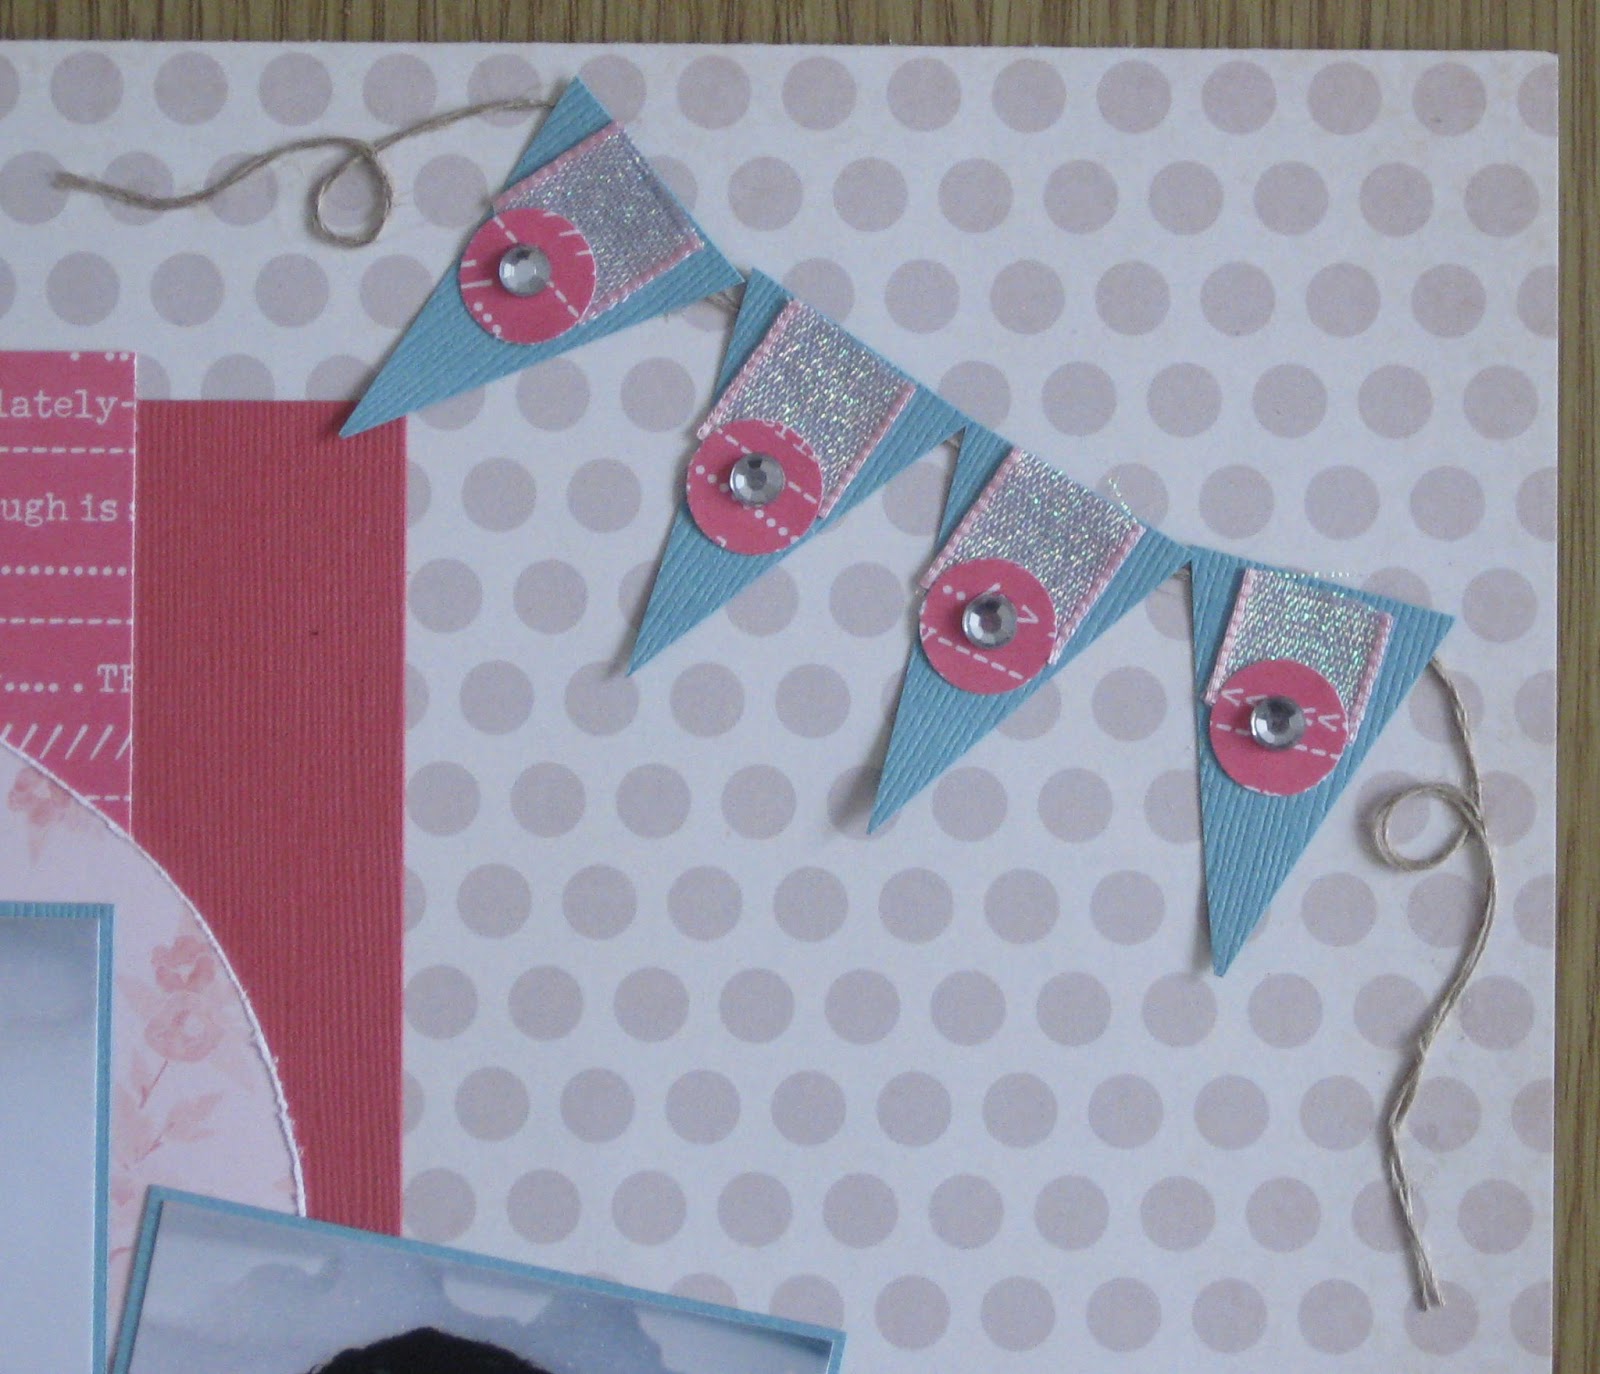
Make a banner for the top right corner, using the green Bazzill, small pieces of ribbon, punched circles, large gems and twine.
Finish off with a title using my favourite Thickers (this comes with the Kit!).
To see other layout ideas from this Kit pop on over to Niki's blog and if you want to get creative yourself with this Kit have a look at the great value Kit subscription offer that Niki has here!
Thanks for looking!
Kirei x
Back with another layout from this week's Being Scrappy Kit. We had the yummy 'Dear Lizzy - 5th & Frolic' papers and a Thickers glittery Alpha by American Crafts to create with! I dug deep for my photos this week, they go back quite a few years to when my friend Kerrie's kids were still little (they turn 16 this year!).
I used the spotty 'Simplicity Circle' as the base for my layout, then cut a 6.5" x 9.25" piece of the raspberry Bazzill and tore the bottom off in a diagonal. Attach this to the left side of the layout and then stick down a 5.25" x 6" piece of the 'Memory Lane' paper just over the raspberry Bazzill. Cut an 11" x 1,25" strip of the triangle 'Cartwheel Court' paper and stick down towards the bottom of the 'Memory Lane' paper. Add one of the manufacturer's strips cut to 10.25" just under the larger strip. Punch a border in a 11" strip of the green Bazzill and stick this down over the top edge of the large strip.
Cut a 4.75" circle from the pink 'Memory Lane' paper, distress the edges and attach. Mount three photos onto the green Bazzill leaving just a thin border. My photo sizes are: 3.5" x 2.5" and 4" x 3.5". Sticl down onto the layout.
Add your embellishments... I punched different size circles from the patterned papers and Bazzill and layered these up above and below the photos, so they look like bubbles! Add some large gems and dots from the glittery Thickers Alpha.
Make a flower from layered strips of the pretty ribbon that comes with the Kit. Attach to the layout and add a layered paper centre and large gem.
Make a banner for the top right corner, using the green Bazzill, small pieces of ribbon, punched circles, large gems and twine.
Finish off with a title using my favourite Thickers (this comes with the Kit!).
To see other layout ideas from this Kit pop on over to Niki's blog and if you want to get creative yourself with this Kit have a look at the great value Kit subscription offer that Niki has here!
Thanks for looking!
Kirei x
Wednesday, 30 January 2013
Jan Week 5 layout for Being Scrappy...
Hi Everyone!
Loving this week's Kit from Being Scrappy with the brightly patterned 'Doodle-Deux' collection from Prima. I had some photo's of our godson Freddie's 1st birthday that were just perfect with the papers.
I used the orange Bazzill as the base for my layout. Spray some red mist across the top right corner of the Bazzill.
Cut a 3.5" x 12" strip of the alphabet side of the 'Two-By-Two' paper and stick to the bottom of the layout. Then cut a 1" strip of the 'One-Up' paper and punch a border along the long edge, stick this to the top of the alphabet paper. Next cut the strip of numbers from the 'Doodle-Bits' paper and attach just over the punched border strip. Just above that stick down one of the manufacturer's strips.
Attach two photos, mine were 5" x 6.5" (it was a 7" x 5" that I cropped) and a 3.75" x 5.5" (it was a 6" x 4").
Then add your embellishments, I cut a selection of flowers, circle shapes, sayings, speech bubbles and a bird from the different papers and added them to the bottom of the two photos. Don't forget to add some of the red ric-rac that comes with the Kit.
Add a few embellishments to the top right of the layout.
Add some journalling in the speech bubbles.
Finish off with a title which I made with a couple of alphas from my stash!
This Kit is available for a limited time over at Be Scrappy and to see some other fab ideas using this Kit pop on over to Niki's blog here.
Thanks for looking,
Kirei
Loving this week's Kit from Being Scrappy with the brightly patterned 'Doodle-Deux' collection from Prima. I had some photo's of our godson Freddie's 1st birthday that were just perfect with the papers.
I used the orange Bazzill as the base for my layout. Spray some red mist across the top right corner of the Bazzill.
Cut a 3.5" x 12" strip of the alphabet side of the 'Two-By-Two' paper and stick to the bottom of the layout. Then cut a 1" strip of the 'One-Up' paper and punch a border along the long edge, stick this to the top of the alphabet paper. Next cut the strip of numbers from the 'Doodle-Bits' paper and attach just over the punched border strip. Just above that stick down one of the manufacturer's strips.
Attach two photos, mine were 5" x 6.5" (it was a 7" x 5" that I cropped) and a 3.75" x 5.5" (it was a 6" x 4").
Then add your embellishments, I cut a selection of flowers, circle shapes, sayings, speech bubbles and a bird from the different papers and added them to the bottom of the two photos. Don't forget to add some of the red ric-rac that comes with the Kit.
Add a few embellishments to the top right of the layout.
Add some journalling in the speech bubbles.
Finish off with a title which I made with a couple of alphas from my stash!
This Kit is available for a limited time over at Be Scrappy and to see some other fab ideas using this Kit pop on over to Niki's blog here.
Thanks for looking,
Kirei
Wednesday, 23 January 2013
Jan Week 4 Layout for Being Scrappy...
Morning Everyone!
I was loving this week's Being Scrappy Kit, I had the fab 'Dear Lizzy - Neapolitan' papers from American Crafts to play with, and some matching stickers sheets. One of our wedding photos would be perfect with these papers...
I used the floral side of the 'Simple Romance' paper as my base, but did gut a piece of it (under the green panel) as I wanted to use some of the grid pattern from the other side later in the layout. I then cut 2 pieces of the grid pattern 'Simple Romance' - 4.5" x 2.75" and 1" x 2.75" and stuck these down at the bottom on either side of the layout. Use one of the manufacturer's strips and attach a piece to the bottom of each grid pattern paper.
Then I cut a 6.5" x 9.5" piece of the green 'Pretty Please' paper and stuck this down on the right side of the layout over the hole I gutted to start with. Mount a 7" x 5" photo onto the apricot Bazzill and stick down.
Now you can add your embellishments... I used a combination of the stickers that came with the Kit (I still had plenty left over!) and some small scraps of the patterned papers along with some dots from a Thickers Alpha (from my stash).
I finished off with a title using a Thickers Alpha from my stash.
This yummy Kit is available for a short time here, do pop on over to see what Niki did with the Kit here.
Thanks for looking!
Kirei x
I was loving this week's Being Scrappy Kit, I had the fab 'Dear Lizzy - Neapolitan' papers from American Crafts to play with, and some matching stickers sheets. One of our wedding photos would be perfect with these papers...
I used the floral side of the 'Simple Romance' paper as my base, but did gut a piece of it (under the green panel) as I wanted to use some of the grid pattern from the other side later in the layout. I then cut 2 pieces of the grid pattern 'Simple Romance' - 4.5" x 2.75" and 1" x 2.75" and stuck these down at the bottom on either side of the layout. Use one of the manufacturer's strips and attach a piece to the bottom of each grid pattern paper.
Then I cut a 6.5" x 9.5" piece of the green 'Pretty Please' paper and stuck this down on the right side of the layout over the hole I gutted to start with. Mount a 7" x 5" photo onto the apricot Bazzill and stick down.
Now you can add your embellishments... I used a combination of the stickers that came with the Kit (I still had plenty left over!) and some small scraps of the patterned papers along with some dots from a Thickers Alpha (from my stash).
I finished off with a title using a Thickers Alpha from my stash.
This yummy Kit is available for a short time here, do pop on over to see what Niki did with the Kit here.
Thanks for looking!
Kirei x
Wednesday, 16 January 2013
Jan Week 3 layout for Being Scrappy...
Hi Everyone!
I'm back with another layout from this week's fab Being Scrappy Kit. I had the 'Note to Self' papers from Echo Park to play with and I decided that they would be perfect for our trip to Disneyland Paris last June. I had a cute photo of Oscar and Eliza taking a ride on Lee and Simon's shoulders that was just right...
I used the light grey Bazzil as the base for my layout. Cut a 7.5" x 10" piece of the lined ' Red Dots' paper and stick down to the left side of the base. Now this is the point that you should mist your layout as it will be much easier than trying to do it when everything but the embellishments are stuck down! Which is what I did as I am sure you can guess, that's what you get for having a bright idea half way through your layout... I had to do some tweaks to the embellishments that I had planned as I made a bit of a mess by doing it at that late point!
Then cut a 1.5" x 12" strip of the dotty 'Red Dot' paper and stick down. Next cut a 4.25" x 12" strip of the 'Arrows' paper and stick down just slightly overlapping the 'Red Dot's paper.
I cut some narrow strips (approx. 0.5" x 7.5" and 0.5 x 4.5") of the dotty 'Red Dots' paper and blue ledger 'Arrows' paper and border punched all of them and attached to the top and bottom edges of the lined 'Red Dots' paper. Then add embellishments using the fab sticker sheet that comes with the Kit, I raised some of them on foam pads to add dimension. I did use a bit of Washi Tape from my stash as well!
Add some journaling below the photo and finish off with a title, I used a Thickers Alpha from my stash.
Have a look here to see what Niki made with the Kit... to purchase the Kit you will find it here for a limited time.
Thanks for looking!
Kirei x
I'm back with another layout from this week's fab Being Scrappy Kit. I had the 'Note to Self' papers from Echo Park to play with and I decided that they would be perfect for our trip to Disneyland Paris last June. I had a cute photo of Oscar and Eliza taking a ride on Lee and Simon's shoulders that was just right...
I used the light grey Bazzil as the base for my layout. Cut a 7.5" x 10" piece of the lined ' Red Dots' paper and stick down to the left side of the base. Now this is the point that you should mist your layout as it will be much easier than trying to do it when everything but the embellishments are stuck down! Which is what I did as I am sure you can guess, that's what you get for having a bright idea half way through your layout... I had to do some tweaks to the embellishments that I had planned as I made a bit of a mess by doing it at that late point!
Then cut a 1.5" x 12" strip of the dotty 'Red Dot' paper and stick down. Next cut a 4.25" x 12" strip of the 'Arrows' paper and stick down just slightly overlapping the 'Red Dot's paper.
I cut some narrow strips (approx. 0.5" x 7.5" and 0.5 x 4.5") of the dotty 'Red Dots' paper and blue ledger 'Arrows' paper and border punched all of them and attached to the top and bottom edges of the lined 'Red Dots' paper. Then add embellishments using the fab sticker sheet that comes with the Kit, I raised some of them on foam pads to add dimension. I did use a bit of Washi Tape from my stash as well!
Add some journaling below the photo and finish off with a title, I used a Thickers Alpha from my stash.
Have a look here to see what Niki made with the Kit... to purchase the Kit you will find it here for a limited time.
Thanks for looking!
Kirei x
Wednesday, 9 January 2013
Jan Week 2 layout for Being Scrappy...
Hi Everyone!
Does anyone else feel like Christmas is a distant memory already! It was only 2 weeks ago but feels like ages...
This week's Kit from Being Scrappy included papers from the 'Indie Chic' range by My Mind's Eye and some fab Thickers Alphas! I used some pics of Lee from our trip downunder last May, we stopped off for lunch at Paul's Hamburgers in Sylvania. I used to go there when I lived in Oz and wanted a good burger, and they sure didn't disappoint! Just as good as I remember them...
I used the burgundy Bazzill as my base, but gutted a large piece from the middle as I wanted to use some of it to mount the photos on (just leave a 1" border on all sides).
Cut a 9.5" x 11.5" piece of the multi-coloured 'Batik' paper and stick to the left side of the burgundy Bazzill base. Then cut a 1.5" x 12" piece of the cream 'Posy' paper and stick to the right side of the burgundy Bazzill base. Cut a 1" x 12" strip of the burgundy Bazzill and border punch one of the long edges (you won't have one complete 12" strip so will have to cut two shorter pieces and join them together). Next cut a 1.75" x 12" strip of the pink 'Batik' paper and attach the burgundy Bazzill border punched strip just under one of the long edges and then stick to the right side of the layout.
I used 3 x photos and croppped them down - 4.5" x 3.25", 5.25" x 3.75" and 4" x 5.25". Mount two of these onto the burgundy Bazzill and then stick them all down onto the layout. You could of course use any number and sizes of photos for your layout, just play around with the best placement.
Then I added some journaling onto strips of the cream 'Posy' paper.
Add a title using the Thickers Alpha that comes with the Kit. Finish off by using some of the Thickers pieces to add a few extra embellishments to the layout.
This fab Kit is available from here, do have a look at the monthly subscription offer as this does save you money! Then pop on over to Niki's blog to see what she has created with the Kit.
Thanks for looking!
Kirei x
Does anyone else feel like Christmas is a distant memory already! It was only 2 weeks ago but feels like ages...
This week's Kit from Being Scrappy included papers from the 'Indie Chic' range by My Mind's Eye and some fab Thickers Alphas! I used some pics of Lee from our trip downunder last May, we stopped off for lunch at Paul's Hamburgers in Sylvania. I used to go there when I lived in Oz and wanted a good burger, and they sure didn't disappoint! Just as good as I remember them...
Cut a 9.5" x 11.5" piece of the multi-coloured 'Batik' paper and stick to the left side of the burgundy Bazzill base. Then cut a 1.5" x 12" piece of the cream 'Posy' paper and stick to the right side of the burgundy Bazzill base. Cut a 1" x 12" strip of the burgundy Bazzill and border punch one of the long edges (you won't have one complete 12" strip so will have to cut two shorter pieces and join them together). Next cut a 1.75" x 12" strip of the pink 'Batik' paper and attach the burgundy Bazzill border punched strip just under one of the long edges and then stick to the right side of the layout.
I used 3 x photos and croppped them down - 4.5" x 3.25", 5.25" x 3.75" and 4" x 5.25". Mount two of these onto the burgundy Bazzill and then stick them all down onto the layout. You could of course use any number and sizes of photos for your layout, just play around with the best placement.
Then I added some journaling onto strips of the cream 'Posy' paper.
Add a title using the Thickers Alpha that comes with the Kit. Finish off by using some of the Thickers pieces to add a few extra embellishments to the layout.
This fab Kit is available from here, do have a look at the monthly subscription offer as this does save you money! Then pop on over to Niki's blog to see what she has created with the Kit.
Thanks for looking!
Kirei x
Wednesday, 2 January 2013
Jan Week 1 layout for Being Scrappy...
Hi Everyone!
Happy New Year, here's to a fun and craft-filled 2013!
My Being Scrappy Kit this week contained the lovely 'Rondelle' papers by Prima and as the colours were quite muted they were just right to scrap a photo of Lee when we on holiday in Oz. He is looking pretty happy and that is because he is just about to tuck into one of Australia's great gourmet delights... a Chiko Roll! It is a large veggie filled, pastry covered, deep fried roll that has been around as long as I can remember. You could get them from any local milk bar (like a takeaway shop). My family emigrated to Oz when I was 10 and they are all still over there.
I used the pale gray Bazzill as the base for my layout. Then I cut the following sizes strips from the patterned papers - 2.5" x 11", 1.75" x 10.5" and 1.5" x 9.75". Ink all of the edges. Cut a 1" x 11" strip of the black script 'Polonaise' paper and punch a decorative border in the long edge. Layer up all of the strips and the border punched strip as shown in the photo. Then cut a few very thin strips of the black script 'Polonaise' paper and attach them over the wider strips.
Mount a 7" x 5" photo onto the black script 'Polonaise' paper and stick down to the layout.
Punch some circles from the 'Quadrille' paper and attach them in a circular shape onto the layout (I used a plate to mark out a circle).
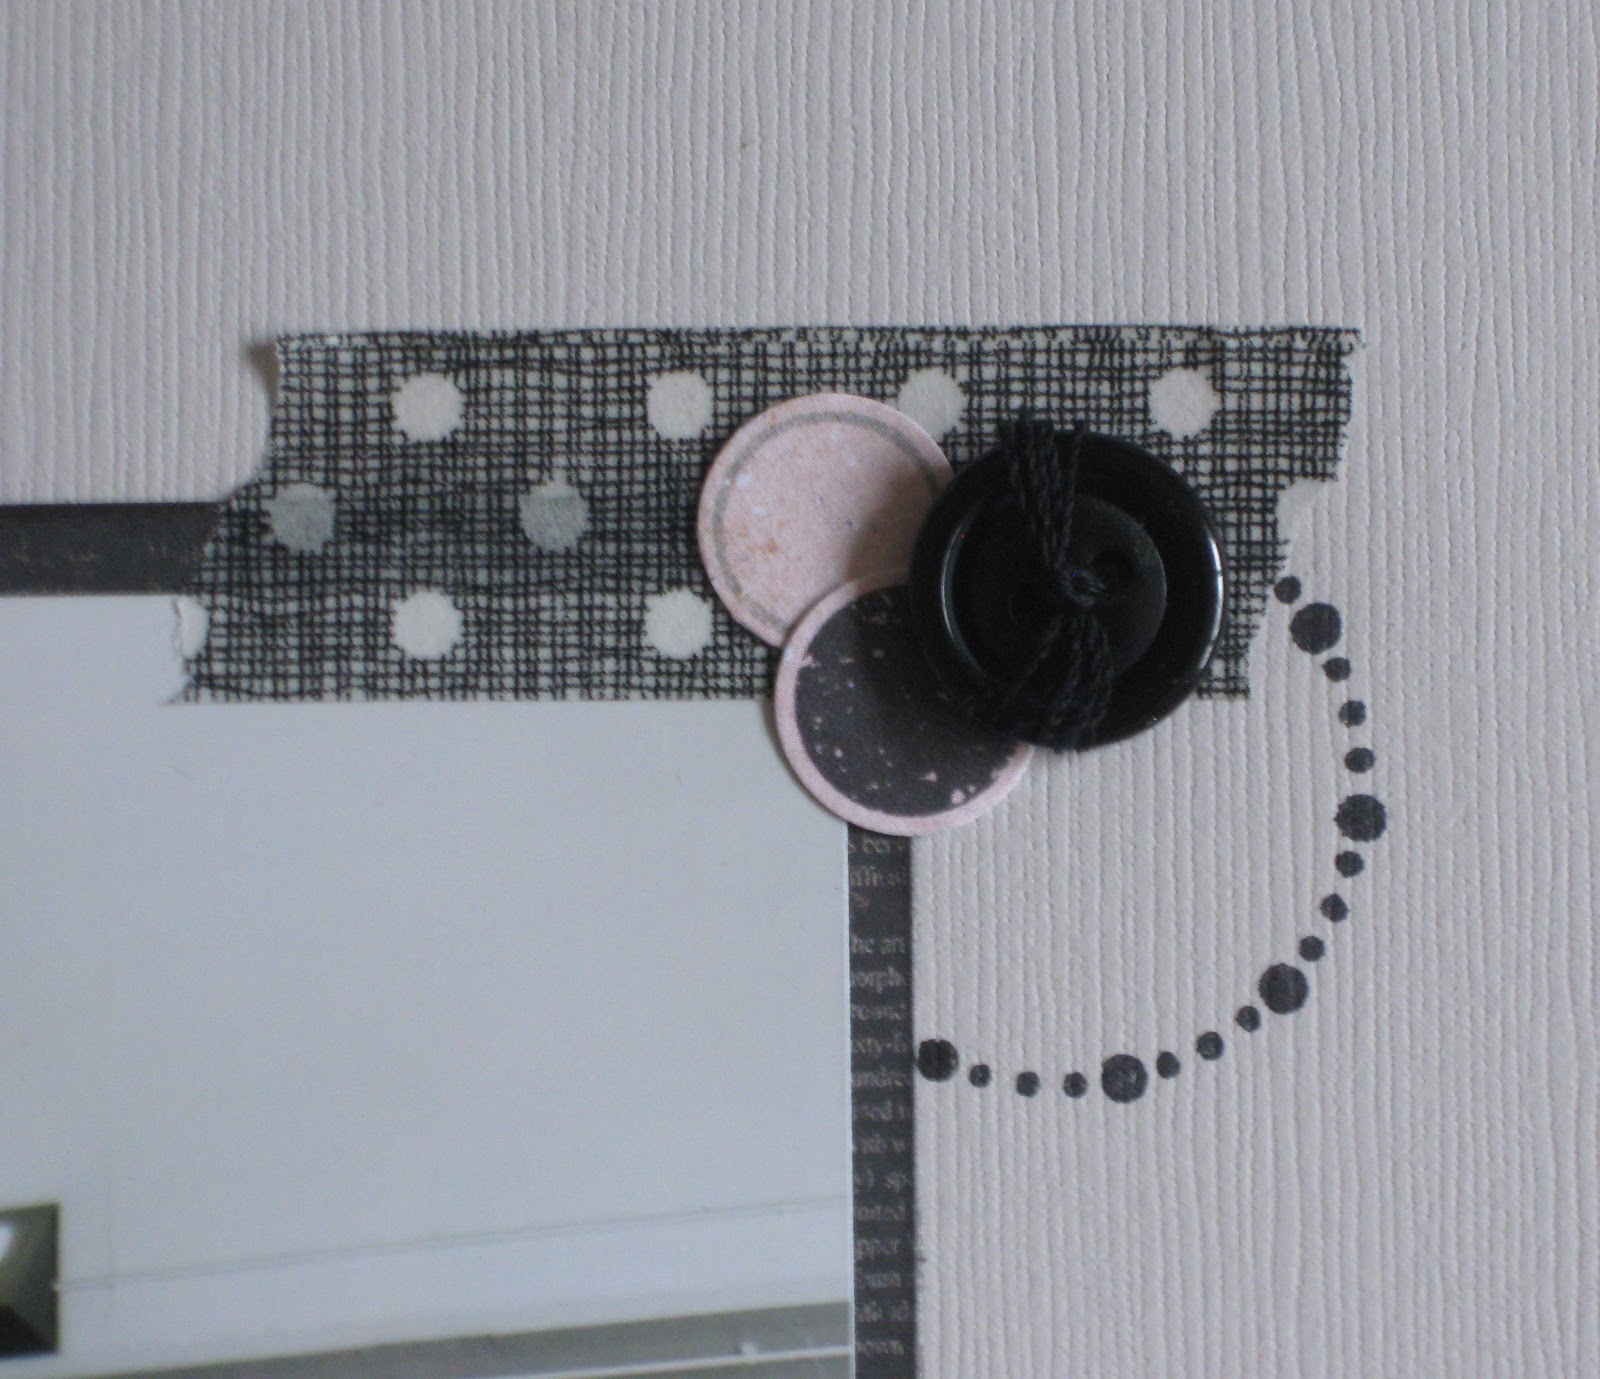
Add some embellishments to the top right and bottom left corners of the photo. First I stamped a circle pattern (at each corner but masked out the actual photo). Then I used some washi tape and buttons from my stash, along with some of the punched out circles.
I added some journalling onto strips of the patterned paper that were inked in black. Finish off with a title using the Prima alpha that came with the Kit.
You can get this Kit for a limited time from here, why not have a look at the great value monthly subscription offer that is available! Also pop on over to Nicki's blog to see what she did with the Kit.
Thanks for looking!
Kirei x
Happy New Year, here's to a fun and craft-filled 2013!
My Being Scrappy Kit this week contained the lovely 'Rondelle' papers by Prima and as the colours were quite muted they were just right to scrap a photo of Lee when we on holiday in Oz. He is looking pretty happy and that is because he is just about to tuck into one of Australia's great gourmet delights... a Chiko Roll! It is a large veggie filled, pastry covered, deep fried roll that has been around as long as I can remember. You could get them from any local milk bar (like a takeaway shop). My family emigrated to Oz when I was 10 and they are all still over there.
I used the pale gray Bazzill as the base for my layout. Then I cut the following sizes strips from the patterned papers - 2.5" x 11", 1.75" x 10.5" and 1.5" x 9.75". Ink all of the edges. Cut a 1" x 11" strip of the black script 'Polonaise' paper and punch a decorative border in the long edge. Layer up all of the strips and the border punched strip as shown in the photo. Then cut a few very thin strips of the black script 'Polonaise' paper and attach them over the wider strips.
Mount a 7" x 5" photo onto the black script 'Polonaise' paper and stick down to the layout.
Punch some circles from the 'Quadrille' paper and attach them in a circular shape onto the layout (I used a plate to mark out a circle).
Add some embellishments to the top right and bottom left corners of the photo. First I stamped a circle pattern (at each corner but masked out the actual photo). Then I used some washi tape and buttons from my stash, along with some of the punched out circles.
I added some journalling onto strips of the patterned paper that were inked in black. Finish off with a title using the Prima alpha that came with the Kit.
You can get this Kit for a limited time from here, why not have a look at the great value monthly subscription offer that is available! Also pop on over to Nicki's blog to see what she did with the Kit.
Thanks for looking!
Kirei x
Wednesday, 26 December 2012
Dec Week 4 layout for Being Scrappy...
Hi Everyone!
Merry Christmas.... I hope everyone had a lovely Christmas day yesterday. We certainly did, spending the day (and night) with Lee's family who are only 20 mins away from us. We opened presents, ate lots of good food, drank quite a bit and played board games until late - my favourite sort of Christmas! Then yesterday Lee, myself, his brothers and partners did our traditional Boxing Day walk up to a lovely pub in the countryside for a festive lunchtime drink... it definitely had to be mulled wine for me!
Anyway this week's Kit is perfect for scrapping those Christmas photos, I had a cute photo of my friends four kids from 2002 that was perfect!
I used the green Bazzill as the base for my layout. Then cut a 6" x 12" strip of the red Bazzill and border punch both of the long sides (I used a star border punch for mine). Attach this towards the bottom of the green Bazzill.
Cut a 5" x 8" piece of the pale green Bauble paper and a 4.75" x 10.25" of the Christmas Tree paper. Ink the edges with green ink and stick to the layout.
Cut a 9.5" x 1.5" piece of the green Stripe paper, ink the edges and stick down. Mount a 6" x 4" photo onto some of the red Bazzill and attach to the layout.
I used some of the buttons and fibres to embellish around the photo.
Add a title (I raided my stash for mine!), and finish off with some journalling.
This fab Kit is available for a limited time from here, don't forget to pop on over to Nicki's blog to see what she did with the Kit.
Thanks for looking!
Kirei x
Merry Christmas.... I hope everyone had a lovely Christmas day yesterday. We certainly did, spending the day (and night) with Lee's family who are only 20 mins away from us. We opened presents, ate lots of good food, drank quite a bit and played board games until late - my favourite sort of Christmas! Then yesterday Lee, myself, his brothers and partners did our traditional Boxing Day walk up to a lovely pub in the countryside for a festive lunchtime drink... it definitely had to be mulled wine for me!
Anyway this week's Kit is perfect for scrapping those Christmas photos, I had a cute photo of my friends four kids from 2002 that was perfect!
I used the green Bazzill as the base for my layout. Then cut a 6" x 12" strip of the red Bazzill and border punch both of the long sides (I used a star border punch for mine). Attach this towards the bottom of the green Bazzill.
Cut a 5" x 8" piece of the pale green Bauble paper and a 4.75" x 10.25" of the Christmas Tree paper. Ink the edges with green ink and stick to the layout.
Cut a 9.5" x 1.5" piece of the green Stripe paper, ink the edges and stick down. Mount a 6" x 4" photo onto some of the red Bazzill and attach to the layout.
I used some of the buttons and fibres to embellish around the photo.
Add a title (I raided my stash for mine!), and finish off with some journalling.
This fab Kit is available for a limited time from here, don't forget to pop on over to Nicki's blog to see what she did with the Kit.
Thanks for looking!
Kirei x
Wednesday, 19 December 2012
Dec Week 3 layout for Being Scrappy...
Hi Everyone!
I had the fun Amy Tangerine papers to play with this week and had some photo's of our friend's cute daughters playing together that went perfectly!
I used the 'Krist's Craft' paper as my layout base as I liked the splodgy paint and doily images. Then cut the following pieces from whatever papers you prefer: 6" x 7.5" and 2" x 7", and a 5" x 5.5" piece of the pink Bazzill. Ink all of the edges with black ink and layer up as shown in the photo. Add a 6" x 5" photo (trimmed down from 7" x 5") to the right. Mount a 6" x 4" photo to any on of the patterened papers (don't forget to ink the edges!) and attach to the left of the layout with foam pads.
Then add your embellishments! I used a mix of the fab matching stickers that came with the Kit, some of the manufacturers strips that I cut from the bottom of each paper, staples and some dots that came from the alpha I used (which was from my stash).
To finish off add an alpha (from my own stash) and some journalling.
Want to see more layouts made with this Kit then just have a look at Niki's blog here...This Kit is available for a limited time here.
Thanks for looking!
Kirei x
Subscribe to:
Posts (Atom)