Showing posts with label Australia. Show all posts

Wednesday, 19 February 2014

February Week 3 layout for Being Scrappy...

Morning Everyone!

For this weeks Being Scrappy layout I am using the fab 'Thataway' papers by Studio Calico. With that name they are obviously travel themed but could be used for anything... though I did end up using some pics from our last trip to Australia!


I started with the red Bazzill as the base for my layout.

Then cut a 7" x 12" piece of the orange arrows 'Points of Interest' paper. Then cut two 1" x 12" strips of the grey arrows 'Made It' paper and stick these both under the long edge of the 'Points of Interest' paper so a small border is peeping out. Then stick down to the right side of the layout.

Add three 6" x 4" photos, these were trimmed very slightly so that there was a border at the top and bottom of the paper when you stick them down.


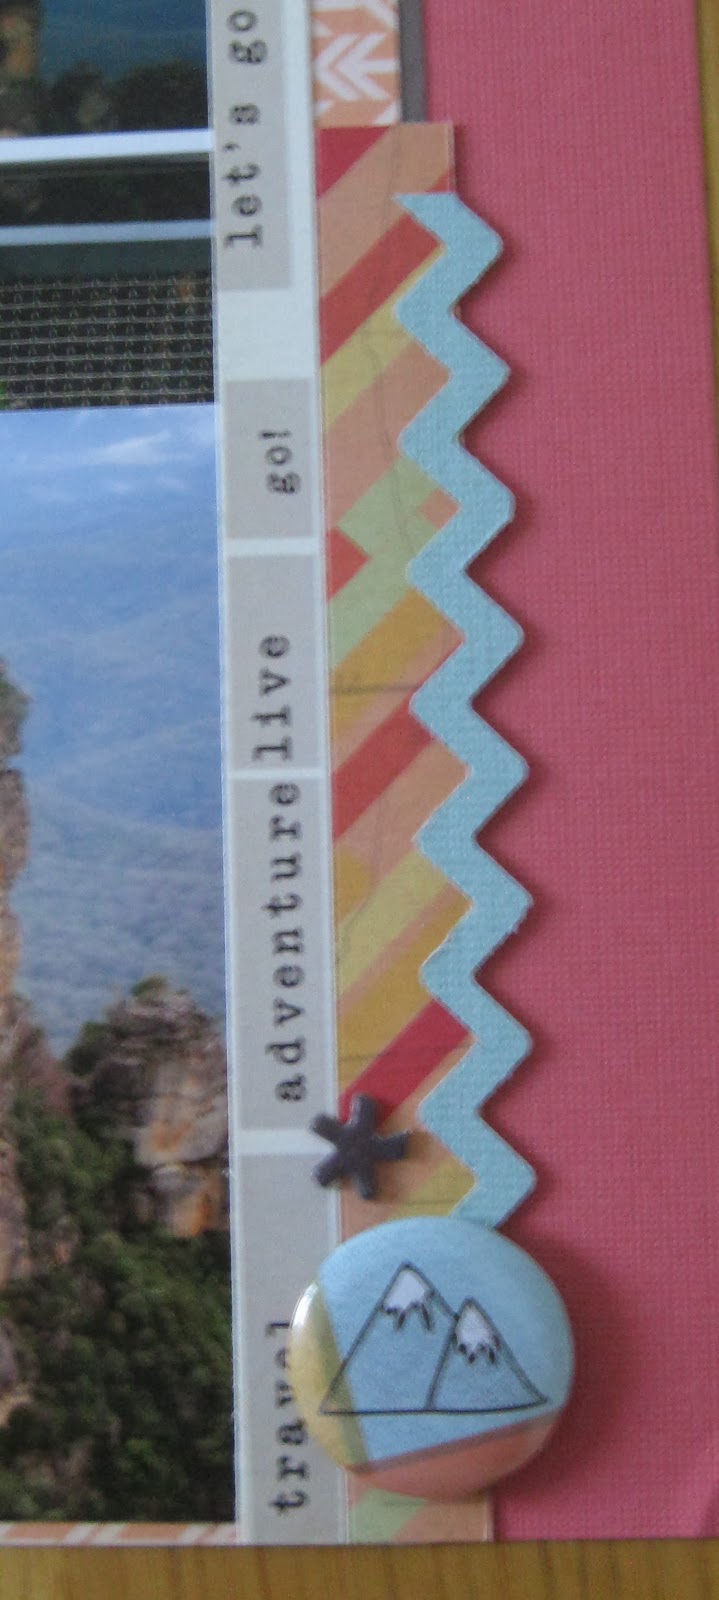
Cut two 4.5" x 0.75" strips of the striped 'Made It' paper and stick down to the top left and bottom right. Add a punched zigzag strip of green Bazzill to each striped piece (I happened to have a couple of leftover strips in my stash that I used).


Then cut an 11" strip of the words from the 'Points of Interest' paper and stick down.


Add a title (I used a Thickers alpha from my own stash). I also included some journaling in the bottom left of the layout.


Finish off with a couple of the Flair buttons that come with the Kit. I also added a few asterisks from the Thickers alpha.

Niki has designed two fab layouts this week, pop on over to her blog here to see them.

Thanks for looking!
Kirei x


Wednesday, 10 April 2013

April Week 2 layout for Being Scrappy...

Morning Everyone!

This week's Being Scrappy Kit had some lovely papers from My Mind's Eye and I had the perfect photos to go with them... some pics of the Sydney Harbour Bridge that I took when on holidays in Sydney last year!


I used the 'Garden Gate' paper as the base for my layout. Cut two narrow 12" strips of the 'Dreams' paper and punch a decorative border along each one. Then cut a 6" x 12" strip from the 'Collage' paper and stick the two border punched strips just under the top and bottom edges before sticking down towards the bottom half of the layout.


Attach a 7" x 5" photo to the left side and then mount a 5" x 5" photo onto the cream Bazzill and stick down just overlapping the top of the first photo.

Write your journalling onto strips of the cream Bazzill and stick to the right of the larger photo.


Add some of the My Mind's Eye Enamel Dots to either side of the photo to decorate.


I added a title using two from my own stash, and finished off with the cute little coat hanger paperclip as this is the nickname for the bridge!


This Kit is available for a limited time here, do pop on over to Niki's blog to see what fabby layouts she has come up with this week!

Thanks for looking!
Kirei x

Wednesday, 9 January 2013

Jan Week 2 layout for Being Scrappy...

Hi Everyone!

Does anyone else feel like Christmas is a distant memory already! It was only 2 weeks ago but feels like ages...

This week's Kit from Being Scrappy included papers from the 'Indie Chic' range by My Mind's Eye and some fab Thickers Alphas! I used some pics of Lee from our trip downunder last May, we stopped off for lunch at Paul's Hamburgers in Sylvania. I used to go there when I lived in Oz and wanted a good burger, and they sure didn't disappoint! Just as good as I remember them...


I used the burgundy Bazzill as my base, but gutted a large piece from the middle as I wanted to use some of it to mount the photos on (just leave a 1" border on all sides).

Cut a 9.5" x 11.5" piece of the multi-coloured 'Batik' paper and stick to the left side of the burgundy Bazzill base. Then cut a 1.5" x 12" piece of the cream 'Posy' paper and stick to the right side of the burgundy Bazzill base. Cut a 1" x 12" strip of the burgundy Bazzill and border punch one of the long edges (you won't have one complete 12" strip so will have to cut two shorter pieces and join them together). Next cut a 1.75" x 12" strip of the pink 'Batik' paper and attach the burgundy Bazzill border punched strip just under one of the long edges and then stick to the right side of the layout.


I used 3 x photos and croppped them down - 4.5" x 3.25", 5.25" x 3.75" and 4" x 5.25". Mount two of these onto the burgundy Bazzill and then stick them all down onto the layout. You could of course use any number and sizes of photos for your layout, just play around with the best placement.


Then I added some journaling onto strips of the cream 'Posy' paper.


Add a title using the Thickers Alpha that comes with the Kit. Finish off by using some of the Thickers pieces to add a few extra embellishments to the layout.


This fab Kit is available from here, do have a look at the monthly subscription offer as this does save you money! Then pop on over to Niki's blog to see what she has created with the Kit.

Thanks for looking!
Kirei x

Wednesday, 2 January 2013

Jan Week 1 layout for Being Scrappy...

Hi Everyone!

Happy New Year, here's to a fun and craft-filled 2013!

My Being Scrappy Kit this week contained the lovely 'Rondelle' papers by Prima and as the colours were quite muted they were just right to scrap a photo of Lee when we on holiday in Oz. He is looking pretty happy and that is because he is just about to tuck into one of Australia's great gourmet delights... a Chiko Roll! It is a large veggie filled, pastry covered, deep fried roll that has been around as long as I can remember. You could get them from any local milk bar (like a takeaway shop). My family emigrated to Oz when I was 10 and they are all still over there.


I used the pale gray Bazzill as the base for my layout. Then I cut the following sizes strips from the patterned papers - 2.5" x 11", 1.75" x 10.5" and 1.5" x 9.75". Ink all of the edges. Cut a 1" x 11" strip of the black script 'Polonaise' paper and punch a decorative border in the long edge. Layer up all of the strips and the border punched strip as shown in the photo. Then cut a few very thin strips of the black script 'Polonaise' paper and attach them over the wider strips.

Mount a 7" x 5" photo onto the black script 'Polonaise' paper  and stick down to the layout.

Punch some circles from the 'Quadrille' paper and attach them in a circular shape onto the layout (I used a plate to mark out a circle).


Add some embellishments to the top right and bottom left corners of the photo. First I stamped a circle pattern (at each corner but masked out the actual photo). Then I used some washi tape and buttons from my stash, along with some of the punched out circles.


I added some journalling onto strips of the patterned paper that were inked in black. Finish off with a title using the Prima alpha that came with the Kit.


You can get this Kit for a limited time from here, why not have a look at the great value monthly subscription offer that is available! Also pop on over to Nicki's blog to see what she did with the Kit.

Thanks for looking!
Kirei x

Wednesday, 17 October 2012

Oct Week 3 layout for Being Scrappy...

Hi Everyone!

With this week's Being Scrappy Kit I had the 'En Francais' papers from Prima to play with and I knew the perfect photos to go with them. On our trip downunder we visited my mum and dad in central NSW and went out for the day to visit Hill End which is an old goldmining town and I have plenty of pics of the old buildings!

I used the linen look side of the 'Sampleur' paper as my base. Cut a 4" x 10" piece of the 'Billetes' paper and ink the edges. Then carefully cut around some of the edge of the flowers in the bottom left corner, just enough to tuck this piece in.


Stick down a 6" x 4" photo to the base. I then mounted a 6.5" x 4.75" photo onto some of the red Bazzill and then attached this to the base overlapping the other photo slightly (only the bottom and sides were glued as I wanted to tuck a ticket in behind it) .

Attach some of the manufacturer's strips (from the different papers) and ribbon to the bottom of the photo.


Cut some of the tickets from the 'Billetes' paper and layer them up around the bottom left of the layout. I used some leftover circle ribbon and Mini Alphas from another Kit to finish this off.


Use one of the long tickets for your journalling, staple a piece of ribbon to the top.


Add your title, again I used some leftover alphas from a past Kit.


Have a look here to see what Niki made with the Kit...

This Kit is available for a limited time from Be Scrappy...

Thanks for looking!
Kirei x

Friday, 14 September 2012

Sept Week 2 layout for Being Scrappy...


Hi Everyone!

Apologies as I am extremely late posting this week's layout for the Be Scrappy Kit. We were away last weekend and I then had a few late nights with work and have just not caught up at all! Anyway better late than never so here is what I did with this week's Kit which contained the nice and bright 'Shoreline' papers from American Crafts.


I used the sun side of the 'Solana' paper as my base, and cut carefully around the 'sun' image in the bottom right corner as I wanted to pop this up on some foam pads. I also gutted a 6" square from the centre of this paper. I cut a 9" square from the 'Newport' paper (wave side), but don't stick it down yet! I then used what was left of that paper to cut enough pieces to layer under the wave paper, if you look closely enough you will see where the joins are (one each side).


Attach these and then use the blue selvedge to edge the red 'Newport' paper, again be careful as I had to cut it into 3 x pieces to fit! Now you can attach the 9" square of the 'Newport' paper to your base, and then stick down the three photos. Mount one of these on the blue Bazzill. My photos are 6" x 4", 5.5" x 4" and 4.5" x 4".

Now reattach the 'sun' image on foam pads. Add some journalling using some strips of the gutted piece from the 'Solana' paper.


Finally add a title using the bright and glittery Thickers that come with the Kit. I did add a few alpha stickers from my stash!


Have a look here to see the layouts that Niki made with the Kit...

Thanks for looking!
Kirei x

Wednesday, 8 August 2012

August Week 2 layout for Being Scrappy

Hi Everyone!

So for this week's Kit I had the vintagey 'French Kiss' papers from Glitz Design to play with and I decided to use some photos from our recent trip to Australia. When we were staying with my mum and dad we took a day trip out to Hill End, which is an old gold mining town and the papers were just perfect with the photos of the old buildings.


I used the brown Bazzill for the base of my layout, gutting the centre leaving a 1 3/4" frame. I then cut the centre from the 'Fleur' paper leaving just the frame, and mounted the centre piece onto the brown Bazzill.

Then I took a 12" length from the leftover 'Fleur' paper (the scroll/text side) and attached this towards the bottom of the layout. Next I cut a 3.5" x 11" strip of the 'Hats' paper (using the side that looks like sacking) and stuck this to the left side of the layout. I had some ribbon left over from a recent kit so attached this to the bottom of the layout and also used a small piece between two of the photos on the top half of the layout.

Then I mounted my photos onto the brown and cream Bazzill and attached these to the base. My photos measured: 5.25" x 3.75", 5.5" x 3.5", 3.25" x 4", 3.5" x 3.5" and 3.5" x 3". You can of course use less photos or vary the sizes to suit what you want to include.

To add journalling I cut some thin strips of the 'Fleur' paper and attached this to the bottom left of the layout.

Next add your title, I used some black alphas from my stash and the Glitz Design Burlap Teeny Alphas that came in the Kit. To finish I dotted around some of the mini pearls that were also in the Kit.


Why don't you pop over to Being Scrappy to see what Niki has done with this Kit!

Thanks for looking!
Kirei x

Thursday, 2 August 2012

August Week 1 layout for Being Scrappy....

Hi Everyone!

Apologies I set this blog post for Wed of next week in error....oops!

I had some of the fabby 'Miss Caroline' papers from My Minds Eye in my Being Scrappy Kit to play with this week..

First I took the 'Wild Flower' paper and gutted the centre leaving a 1" frame, I then cut an 11" square of the kraft Bazzill and stuck that down onto the frame that I had just cut. I doodled around the edge of this with a light brown marker to resemble stitching.


Next I cut a 10.25" x 4" piece of the 'Ledger' paper which I stuck down to the bottom half of the kraft Bazzill. Then I cut four pieces of the 'Wild Flower' paper into 3.5" x 2" strips and attached them just above that.

I mounted my two photos onto the green Bazzill leaving just a narrow edge. Photo sizes were 6.5" x 5" and 5" x 3.5". Stick these down, layering the smaller one just over the top edge of the bottom one.

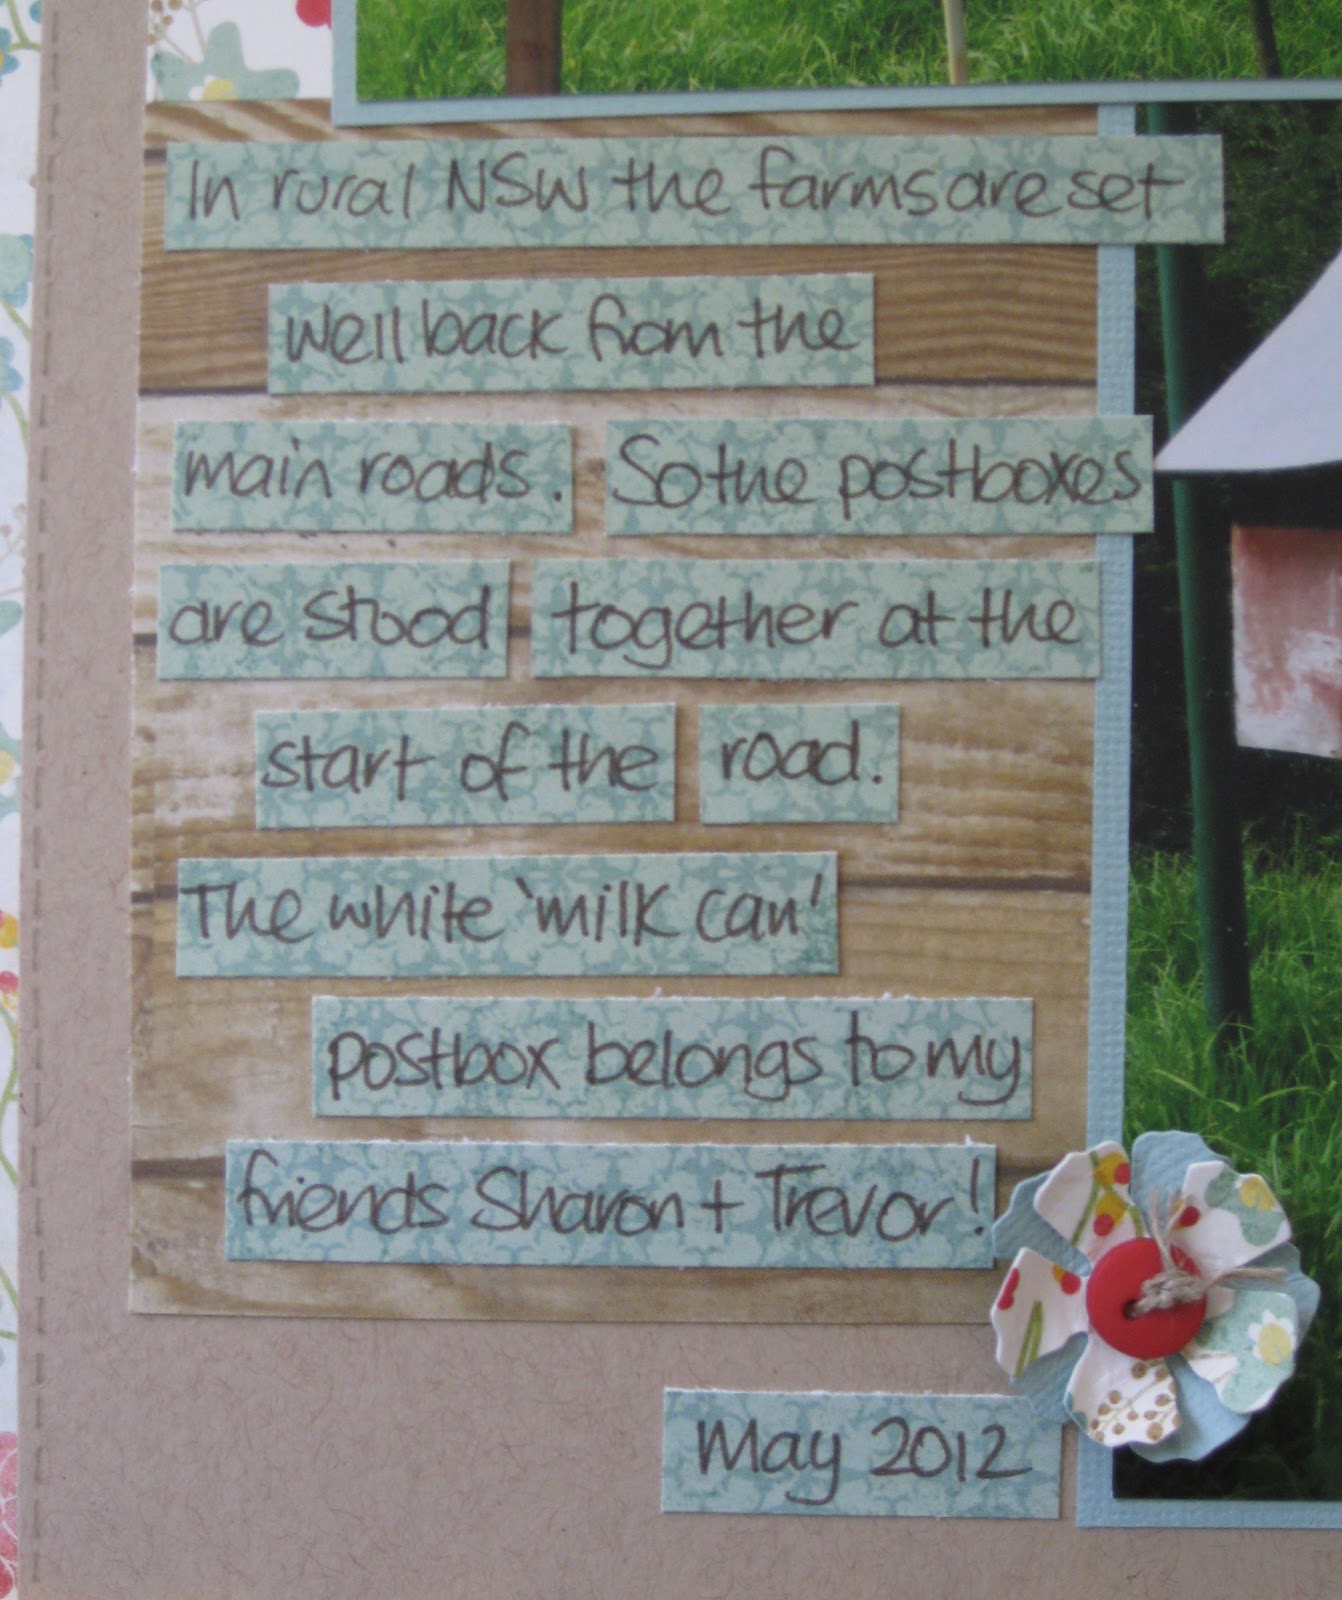
Add some journalling to the left of the bottom photo, I cut strips from the 'Wild Flower' and wrote on them.


My 'MAIL!' part of my title was the Kaisercraft Alphas that came with the Kit, and I added some other alphas from my stash.


Diecut 4 x flowers from the patterned papers and Bazzill and attach them to the layout, to finish them off I did add some buttons and twine from my stash.


Finally I added some of the yellow ribbon from the Kit to frame my title, just pleating it and then stapling it to hold it down.


This lovely Kit is available for a limited time from the Be Scrappy online store...

Thanks for looking!
Kirei x

Tuesday, 5 June 2012

Mini Album class...

Hi Everyone!

Just wanted to post the latest class project that I did at my friend Niki's on Saturday... a Mini Album. Being as we have just come back from Australia I knew they were the photos that I was going to use in this album. We used a chipboard album and pretty bright papers from Kaisercraft so they suited the holiday pics perfectly!


Thanks for looking!
Kirei x