Wednesday 25 December 2013

December Week 4 layout for Being Scrappy....

Merry Christmas!

Hope everyone is enjoying Christmas Day with their families and friends. Lee and I are spending the time over at his parents where we will be tucking into a huge Christmas dinner, drinking, having a snooze, playing games, then eating some more while playing more games and eventually falling into bed pretty late (dependant on how the games went!). We usually play Trivial Pursuit, The Logo Game, Best of British and it gets very competitive!

Anyway onto today's layout... I used the 'Family Stories' papers by Teresa Collins from the December Being Scrappy Kit. As they are obviously family focused papers I dug out a photo from Lee's youngest brother Sam's wedding that was perfect.


I used the grey zigzag 'Family' paper as the base for my layout.

Cut a 4.5" x 11" piece of the wood 'Framed' paper and stick down approx. 3" from the left side of the layout.

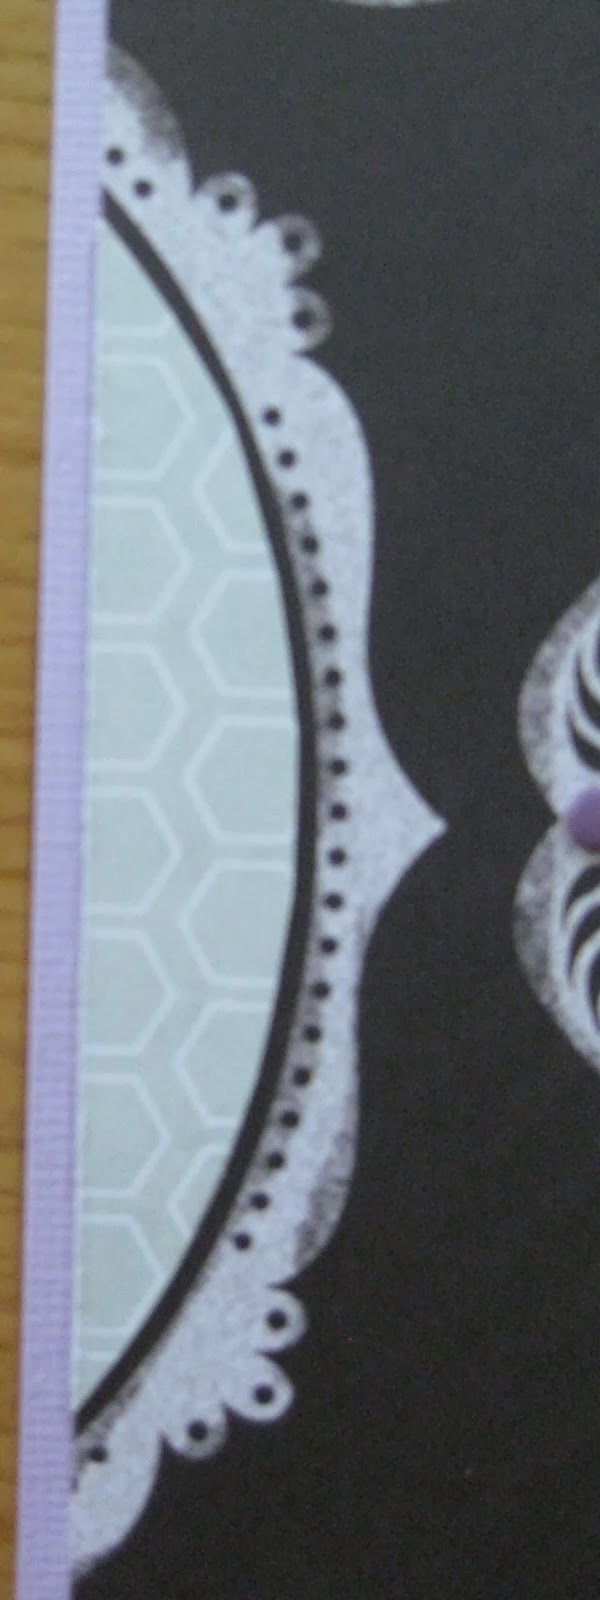
Next cut a 4" x 10" piece of the 'Doily' paper and stick down approx. 1" from the left side of the layout.


I did cheat a little and add 2 x small doilies from my stash. Stick these down along with a 7" x 5" photo and a journaling card cut from the 'Notecards' paper.


Then I cut a selection of journaling strips from the 'Noted' paper into short lengths and layered them at the bottom left of the photo and to the top right of the journaling card. Add some of the
enamel dots that come with the Kit.


Finish off with a title... I used some alphas from my own stash.


Niki has come up with two fab layouts, have a look here to see what she came up with... The December Kit will be available for a short time from here.

Thanks for looking, enjoy the rest of your Christmas break!
Kirei x

Wednesday 18 December 2013

December Week 3 layout for Being Scrappy...

Morning Everyone!

This week from the December 'Being Scrappy' Kit I used the 'Chalk Studio' papers from My Mind's Eye which feature some of the chalk style papers that are very popular right now. I decided to scrap some photos I had from a visit to Shaw's Corner with mum and dad last year, that featured some stunning purple alliums.


I used the 'Pictured' paper as the base for my layout and trimmed it to 11.75" x 11.75". Then I carefully cut out the centres from all of the whole frames (6) on the paper.

Use these centres to cut shapes from the green honeycomb 'Happy Day' paper and cover the frames centres around the edge of the paper.


Use some short strips of the gold glitter trim to line just under some of the frame edges.

Cut your photos so you can stick them behind each of the 6 x frames.


Attach the entire layout to the piece of purple Bazzill.

Then I added short pieces of some of the patterned strips to the bottom right corner. From my stash I did add a few purple enamel dots around the layout.


I managed to fit some journaling into one of the small frames. To finish off add your title, I used some alphas from my own stash.


Pop on over to Niki's blog to see the two layouts that she has designed this week. This month's Kit can be purchased here for a limited time.

Thanks for looking!
Kirei xx

Wednesday 11 December 2013

December Week 2 layout for Being Scrappy...

Hi Everyone!

I am using the 'All About Me' papers by Prima from the Being Scrappy Kit for this week's layout.


Cut a 8" x 12" piece of the blue chevron 'All in the Mix' paper and a 5" x 12" piece of the blue Bazzill and stick together to make one 12" x 12" background.

Stick the yellow chevron border strip over the join.


Cut a 10.75" x 0.5" strip of the circle patterned 'All in the Mix' paper and stick down about 1.5" up from the bottom edge of the layout.

Next cut a 9.75" x 4.5" of the small heart 'Celebrate with Me' paper and stick down just over the  'All in the Mix' strip.

Mount two 4" x 4" photos onto the blue Bazzill and stick down at an angle. Stick the matching Polaroid chipboard frames over the two photos. 


Add some more of the punched chevron die cuts on either side of the photos.


In the top left of the layout, add some strips of patterned papers and some punched chevron die cuts. Include your journaling and finish off with a title using the Thicker alpha that comes with the December Kit.


Have a look at Niki's blog to see the two layouts she has come up with this week... The Kit is available for a limited time from Being Scrappy.

Thanks for looking!
Kirei x

Wednesday 4 December 2013

December Week 1 layout for Being Scrappy...

Morning Everyone!

The new Being Scrappy Kit for December is now out! For this week's layout I used the graphic 'Wild and Free' papers by Glitz to scrap some funny photos of Lee and his sister-in-law Cheryl. They were taken in the photo booth at Sam and Cheryl's wedding and they were a bit silly with some of the props that you could use!


I used the 'Wild & Free Drips' paper as the background for the layout. I really liked the pattern so didn't want to cover it up too much, so kept the embellishments to a minimum.

Cut a 0.75" x 10.75" strip of the 'Wild & Free Arrows' (orange/yellow side) and stick down approx. 5" up from the bottom edge of the layout.
 
Next cut a 3" x 4.5" piece of the 'Wild & Free Arrows' paper (arrows side) and stick down just above the strip. 


Mount your photos onto a 7.25" x 3" strip of the 'Wild & Free Arrows' paper and stick down to the right side of the layout. My photos were 1.75" x 2.75" as they were from the photo booth, but you could use a 6" x 4" portrait photo instead.  

Add the small white Polaroid die cut that comes with the Kit. Finish it off with a button tied with twine (these both come with the Kit).


I then punched an orange/green/yellow 6.5" x 1.25" strip of the 'Wild & Free Arrows' paper with a chevron punch and layered it with more of the same paper (but a more yellow strip). Stick down just over the other strip and photos. 


You get a fab 12" x 12" sticker sheet to match the Glitz papers and I used two of the alphas to add my title.


Then I used plenty of the word stickers in a circle around the photos and title. Done! 


Have a look here to see what Niki came up with this week. The fab Being Scrappy Kit is available here during December.

Thanks for looking!
Kirei x

Wednesday 27 November 2013

November Week 4 layout for Being Scrappy...

Hi Everyone! 

This week I used the fab 'Say Cheese' papers by Simple Stories from the November Being Scrappy Kit. These papers have been very popular for scrapping your Disney photos and luckily I had some of my own to pick from! This photo was from our visit to Cafe Mickey at Disneyland Paris in July last year. Oscar met Mickey for the first time and loved it! 


I used the beige Bazzill as the base for my layout. 

Cut an 11" x 3.5" piece of the 'Seeing Stars' paper, ink the edges and stick down approx. 2.75" from the bottom edge of the layout. I did stick some washi tape from my own stash across the bottom of this piece.
 
Cut a 9" x 4" piece of the spotty 'Fun!' paper, ink the edges and stick down. Then cut a 7.5" x 3.5" piece of the 'Seeing Stars' paper, ink the edges and stick down. Add a 7" x 5" photo.

 
I used an arrow stamp to add a frame around the main part of my layout. You could use any strip type stamp that you have to do the same or even use some twine, rows of brads etc....


You also get a pack of matching 'Say Cheese' chipboard stickers and I used a few of these to embellish the layout in the bottom right and top left corner of the photo.


Add some journaling at the bottom of the star paper. 
 

Finish off with a title, I used some alphas from my own stash.

 
Have a look here at the two layouts that Niki has designed this week. The November Being Scrappy Kit is available for a limited time here.
 
Thanks for looking!
Kirei x


Wednesday 20 November 2013

November Week 3 for Being Scrappy...

Morning Everyone!

This week I used the 'Family Is...' papers by BoBunny from the November Being Scrappy Kit. The Kit includes a full 12" x12" sheet of matching BoBunny stickers and there are loads!

I had a family photo that was perfect for the papers...


For the background I used the chevron patterned 'Family is Drama' paper.

Cut a 3" x 6.5" piece of the green Bazzill and then use a notepaper border punch along one of the long edges. Stick down to the bottom left of the layout.


I then used a selection of the square pictures to highlight the bottom left and top right corners.


Add your photo.

Embellish with a selection of the stickers, I used some of them to make a banner in the top left corner.


Finish off with a title, I used the Thickers alpha that came with the Kit as well as some of the BoBunny alpha stickers.


Pop on over to Niki's blog to see the two layouts that she designed from the November Kit. It's available for a limited time here.

Thanks for looking!
Kirei x

Wednesday 13 November 2013

November Week 2 for Being Scrappy...

Morning Everyone!

This week I used the pretty 'Cut & Paste' papers that come in the Being Scrappy Nov Kit and had some cute photos of our friends little girl Ellie playing peek-a-boo with a skirt she was meant to be putting on!


I used the pale pink spotted 'Adorbs Be' paper as the base for my layout.

Next cut one row of the multi-coloured chevrons from the 'Adorbs Loved' paper, ink the edges and stick down at an angle to the bottom of the layout. Add a strip of the spotty washi tape that comes with the Nov Kit.


Cut a 6.5" x 7" piece of the 'Adorbs Loved' paper, ink the edges and stick down over the chevron strip at an angle.

Take two 6" x 4" photos and mount one of them onto the teal Bazzill. Take the journaling card and along with the two photos stick down.


Add a strip of paper and washi tape to the top left of the layout. Finish off with a button and twine.


Add some washi tape and a couple more buttons tied with twine to the top right and bottom left of the photos.


Finish off with a title, I used an alpha from my own stash.


Want to see more layouts made with the Kit? Then pop on over to Niki's blog to see what she came up with this week. The monthly Kits are available here for a limited time.

Thanks for looking!
Kirei x

Sunday 10 November 2013

GoGo Getaway October 2013 Part 2...

Hi Everyone...

Following on from my post last week here are some more pics of my GoGo Getaway weekend, I am waiting for some photos of the girls as for some reason I didn't take any!

My scrapping space...


The shop...


The office (missing quite a few of the class layouts)...


The crop room wall with all of the sketch challenge entries, I managed to do all 8 of them which I was pleased about!


My friend Niki put together a little Kit for me of the mini album class that she did. It was my first choice for this class session but I didn't get it and she knows how much I love mini albums so it was very sweet of her!


The Album I won in one of the raffle draws, and the Thickers I got for completing the feedback form!


My shopping... I love Alphas particularly Thickers!


Bits and pieces... 

Bella Boulevard papers and matching bits...


Fancy Pants papers and matching alphas...


Project Life cards from two Kits... we bought them and split them between 6 of us which meant we were able to get more variety!


Here are a couple of the other layouts I did while I was there using some older papers from my stash, they were all entered into the sketch challenges that they had running...


I can't show the other layouts that I finished as they were all for my DT work for Being Scrappy, but will appear later through Nov and Dec!

Counting down for the next GoGo in March already!

Thanks for looking!
Kirei x